Building a Location-Map App in React using Vite and Mapbox

Craftsman
Location-map apps like Google maps have become increasingly part of our day-to-day activities as we rely on them to navigate our surroundings and also get information about other places.
In this article, we will explore how to build a location-map app in React using Vite and Mapbox.
React is a popular JavaScript library for building user interfaces, while Vite is a modern build tool that enables fast and efficient development.
Mapbox, on the other hand, is a powerful platform for building custom maps and integrating them into web and mobile applications.
Throughout this article, we will cover the basic steps of setting up a React application, integrating Vite for fast development, and using Mapbox to add custom maps and location data to our app.
And by the end of this article, you will have the knowledge and tools to create your location-map app using these technologies.
Prerequisites
To follow along in this tutorial, you will need the following:
Basic knowledge of React and JavaScript
Node and npm installed on your machine
A Mapbox account (this is because you will need a personalized API key). If you don't have a Mapbox account, you can sign up using this link
You can view the live version of this project here. This will give you an idea and expectation of the application we will be building today
Building out our Location-Map App
Now that we have the prerequisites out of the way, it's time to get our hands dirty. Let's go!
Project setup
Create a new folder on your local machine and open it within your preferred code editor. In this tutorial, we named our folder "location-map" and we used VS Code as our code editor.
Open your terminal and type in the following command. This is to create our react project using Vite. The period sign "." tells Vite that we want our project to be initialized in our current directory.
npm create vite@latest . //if you use npm
//or
yarn create vite . //if you use yarn
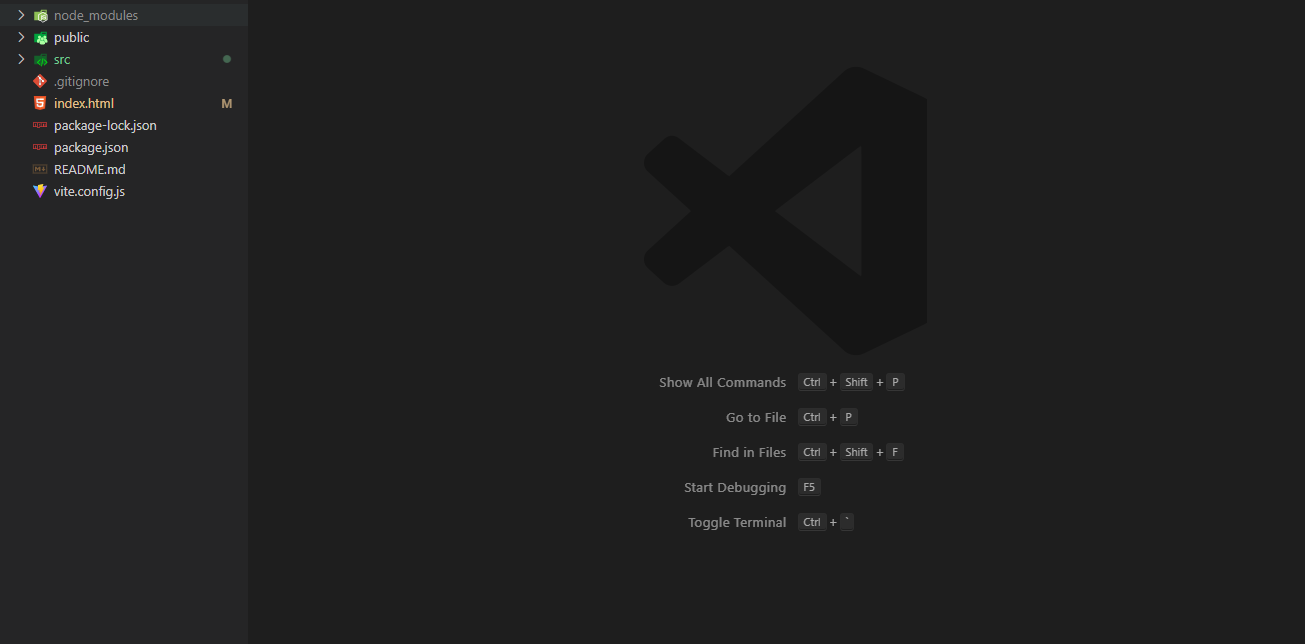
Follow the prompts using your arrow keys and pressing enter. Once you are done, you should have a project structure like the one below
Next, we need to install one dependency which is the Mapbox package. Open your terminal and type
npm install mapbox-gl //if you use npm
//or
yarn add mapbox-gl //if you use yarn
Configuring our App
Go into the index.css file within the src folder. Replace the css there with the one below
* {
  box-sizing: border-box;
  padding: 0;
  margin: 0;
}

body {
  margin: 0;
  font-size: 1rem;
  overflow-x: hidden;
}
Also, go into the App.css file and replace the code there with the one below:
.map-container {
  height: 100vh;
  width: 100vw;
}

.sidebar {
  background-color: rgba(35, 55, 75, 0.9);
  color: #fff;
  padding: 6px 12px;
  font-family: monospace;
  z-index: 1;
  position: absolute;
  bottom: 1rem;
  left: 0;
  margin: 12px;
  border-radius: 4px;
}
These are just some default styles for our component and divs which we will create later.
Also within the head tag in the index.html file, we need to add the following link tag. To enable us to use the default styles provided by Mapbox.
<link
      rel="stylesheet"
      href="https://api.mapbox.com/mapbox-gl-js/plugins/mapbox-gl-directions/v4.1.1/mapbox-gl-directions.css"
      type="text/css"
    />
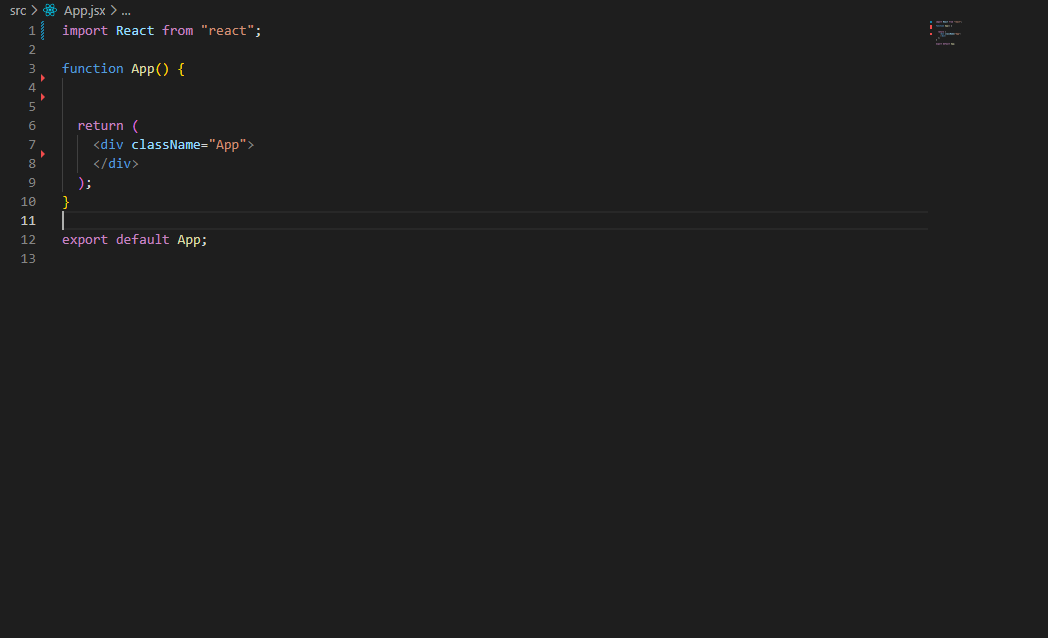
Now go into the App.jsx file and delete every code logic within the div with the class name App. Your file should look like this.
Next go into your src folder and create a new file named ".env". This is where we will store our API key.
Go to your Mapbox dashboard and at the bottom of the page, you will find your API key. Copy and paste it into the .env file so:
VITE_MAPBOX_KEY = YOUR_API_KEY
Creating our Map using Mapbox
Go into the App.jsx file within the src folder and update the code to look like this:
import mapboxgl from "mapbox-gl";
import { useEffect, useRef, useState } from "react";
import "./App.css";

mapboxgl.accessToken = import.meta.env.VITE_MAPBOX_KEY;
function App() {
  const mapContainer = useRef(null);
  const map = useRef(null);
  const [lng, setLng] = useState(-70.9);
  const [lat, setLat] = useState(42.35);
  const [zoom, setZoom] = useState(9);

  useEffect(() => {
    if (map.current) return; // initialize map only once
    map.current = new mapboxgl.Map({
      container: mapContainer.current,
      style: "mapbox://styles/mapbox/streets-v12",
      center: [lng, lat],
      zoom: zoom,
    });

  return (
    <div className="App">
      <div ref={mapContainer} className="map-container" />
    </div>
  );
}

export default App;
In the code snippet above, we imported the Mapbox package we installed earlier and we initialized our access token with the value we stored in our .env file.
Next, we declared our app's default state using the useState and useRef hooks. Then we initialized our map using a useEffect hook. This will ensure that our map will be created as soon as our App component is mounted in the DOM.
Also, we rendered this map in a div within the return statement.
Open your terminal and start your application using the code below to see the application on your device's browser.
npm run dev
//or
yarn run dev
Adding a Div to show Longitude, Latitude and Zoom level
Next, we need to add some interactivity to our application. First, we will add a div that shows the latitude and longitude of any location the user clicks on the map.
For this, add another useEffect hook to our App.jsx component just below the previous one.
 useEffect(() => {
    if (!map.current) return; // wait for map to initialize
    map.current.on("move", () => {
      setLng(map.current.getCenter().lng.toFixed(4));
      setLat(map.current.getCenter().lat.toFixed(4));
      setZoom(map.current.getZoom().toFixed(2));
    });
  });
This utilizes the useState hook we created earlier and updates the longitude, latitude and zoom level according to the user's interaction with the application.
Update the return block in our to look like this:
return (
    <div className="App">
      <div className="sidebar">
        Longitude: {lng} | Latitude: {lat} | Zoom: {zoom}
      </div>
      <div ref={mapContainer} className="map-container" />
    </div>
  );
Save your code and refresh your browser to see how it looks. Nice, yeah? Now let's add more functionality
Adding More Functionalities
For this, we need to add some code to our first useEffect code block. Update the useEffect code block to look like this:
useEffect(() => {
    if (map.current) return; // initialize map only once
    map.current = new mapboxgl.Map({
      container: mapContainer.current,
      style: "mapbox://styles/mapbox/streets-v12",
      center: [lng, lat],
      zoom: zoom,
    });
    map.current.addControl(new mapboxgl.NavigationControl());
    map.current.addControl(new mapboxgl.FullscreenControl());
    map.current.addControl(
      new mapboxgl.GeolocateControl({
        positionOptions: {
          enableHighAccuracy: true,
        },
        trackUserLocation: true,
      })
    );
  });
mapboxgl.NavigationControl() adds a button to enable the user zoom in, zoom out and rotate the map.
mapboxgl.FullscreenControl() adds a button that allows the user to full-screen mode.
mapboxgl.GeolocateControl() adds a button that lets the user view their current location
Adding the direction component
One final component we will need in our application is a direction component that lets the user know the distance and time it will take to get from one point on our map to another. This will specify different formats like driving, cycling, walking etc.
To achieve this, we'll be adding a cdn script tag to our index.html file. Add the following script tag within the head tag in the index.html file:
<script src="https://api.mapbox.com/mapbox-gl-js/plugins/mapbox-gl-directions/v4.1.1/mapbox-gl-directions.js"></script>
After adding this tag, your index.html file should look like this:
<!DOCTYPE html>
<html lang="en">
  <head>
    <meta charset="UTF-8" />
    <link rel="icon" type="image/svg+xml" href="/vite.svg" />
    <script src="https://api.mapbox.com/mapbox-gl-js/plugins/mapbox-gl-directions/v4.1.1/mapbox-gl-directions.js"></script>
    <link
      rel="stylesheet"
      href="https://api.mapbox.com/mapbox-gl-js/plugins/mapbox-gl-directions/v4.1.1/mapbox-gl-directions.css"
      type="text/css"
    />
    <meta name="viewport" content="width=device-width, initial-scale=1.0" />
    <title>Location App using Map Box</title>
  </head>
  <body>
    <div id="root"></div>
    <script type="module" src="/src/main.jsx"></script>
  </body>
</html>
Next, we need to add some code to display the directions component in our application. To do that, add the following code snippet to the first useEffect code block in our App.jsx file:
  map.current.addControl(
      new MapboxDirections({
        accessToken: mapboxgl.accessToken,
      }),
      "top-left"
    );
This will add the direction control at the top-left of our screen. At this point your App.jsx file should look like this:
import mapboxgl from "mapbox-gl";
import { useEffect, useRef, useState } from "react";
import "./App.css";

mapboxgl.accessToken = import.meta.env.VITE_MAPBOX_KEY;

function App() {
  const mapContainer = useRef(null);
  const map = useRef(null);
  const [lng, setLng] = useState(-70.9);
  const [lat, setLat] = useState(42.35);
  const [zoom, setZoom] = useState(9);

  useEffect(() => {
    if (map.current) return; // initialize map only once
    map.current = new mapboxgl.Map({
      container: mapContainer.current,
      style: "mapbox://styles/mapbox/streets-v12",
      center: [lng, lat],
      zoom: zoom,
    });
    map.current.addControl(new mapboxgl.NavigationControl());
    map.current.addControl(new mapboxgl.FullscreenControl());
    map.current.addControl(
      new mapboxgl.GeolocateControl({
        positionOptions: {
          enableHighAccuracy: true,
        },
        trackUserLocation: true,
      })
    );

    map.current.addControl(
      new MapboxDirections({
        accessToken: mapboxgl.accessToken,
      }),
      "top-left"
    );
  });

  useEffect(() => {
    if (!map.current) return; // wait for map to initialize
    map.current.on("move", () => {
      setLng(map.current.getCenter().lng.toFixed(4));
      setLat(map.current.getCenter().lat.toFixed(4));
      setZoom(map.current.getZoom().toFixed(2));
    });
  });

  return (
    <div className="App">
      <div className="sidebar">
        Longitude: {lng} | Latitude: {lat} | Zoom: {zoom}
      </div>
      <div ref={mapContainer} className="map-container" />
    </div>
  );
}

export default App;
Conclusion
In this article, we explored how to build a location-map app in React using Vite and Mapbox.
We saw how to use React to build a flexible and responsive user interface that can easily integrate with Mapbox's mapping platform, which offers numerous customization options to create maps that fit the specific needs of our app.
Whether it's visualizing data, creating interactive experiences, or simply providing a more immersive way to view a location, a location-map app built with React, Vite, and Mapbox has the potential to be a valuable tool for a wide range of use cases.
Resources
Here are some useful resources to aid your development of this project
Project Source code. Don't forget to star the repository ⭐
If you have any questions or suggestions, I'm buzzing to hear from you in the comment section.
Happy coding ✨


